
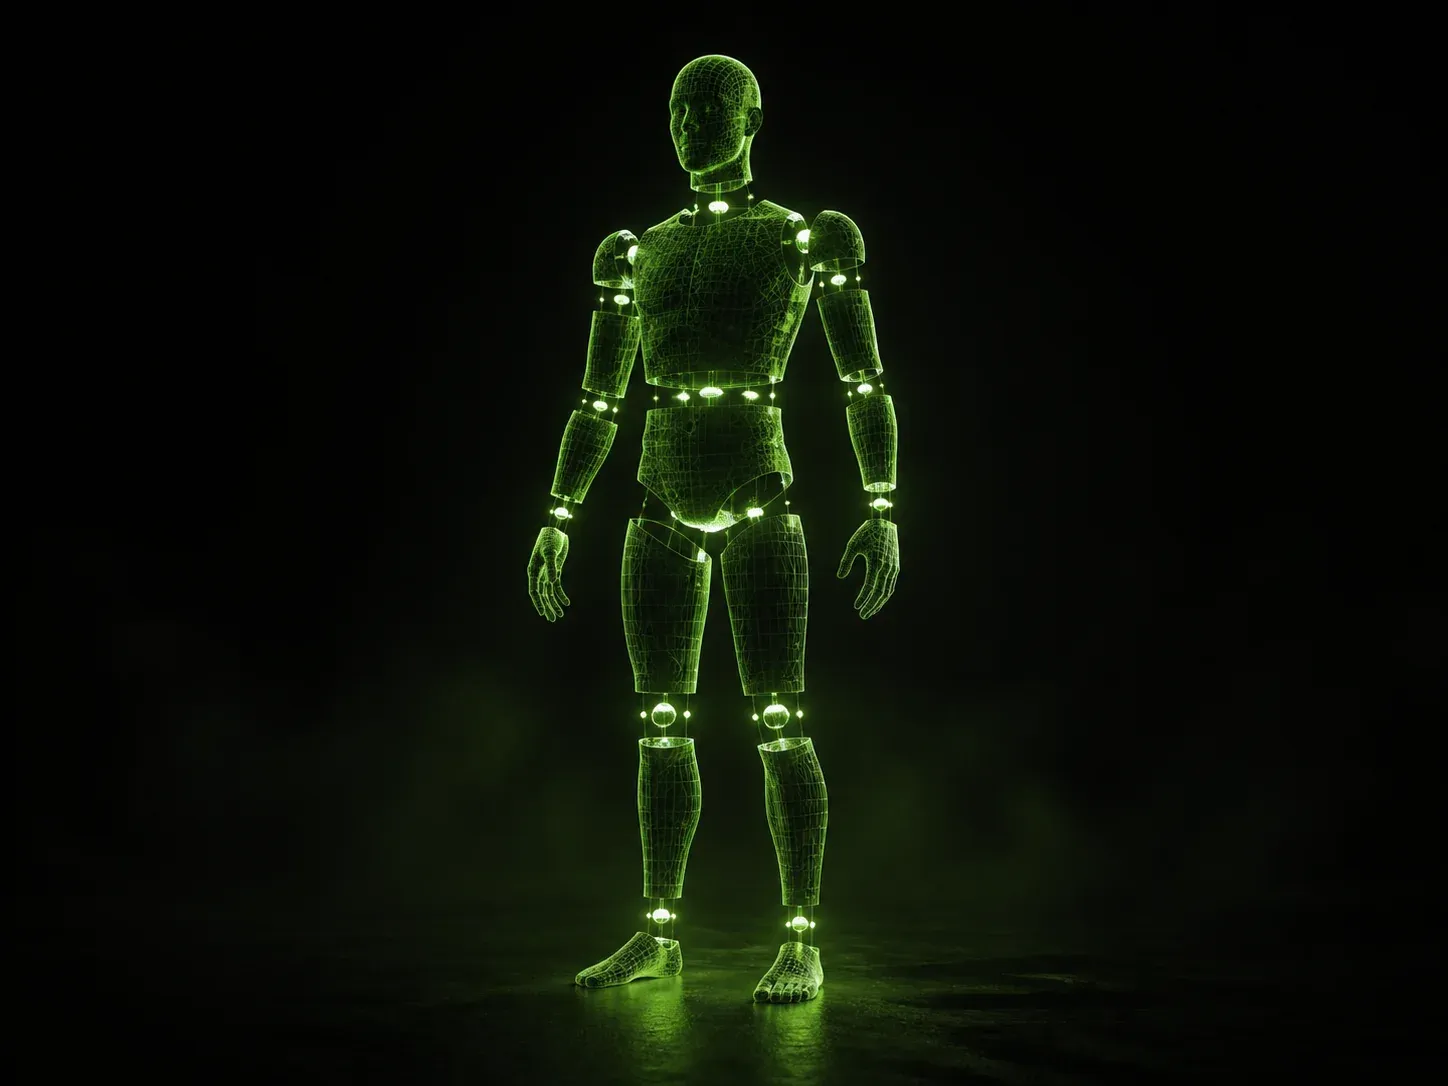
Character Builder + Automated Scene System
٨/٨/٢٠٢٦
From chaos to a fully automated AI pipeline
Ever spent hours fixing AI outputs? Faces change, poses break, scenes don’t match, animations feel off. You end up chasing your own mistakes instead of creating.
It doesn’t have to be this way. With a structured workflow, you stop reacting to problems and start producing content that works — every time. Characters stay consistent. Scenes and animations are generated automatically.
With this system, you’ll learn to:
- Build characters that stay true across all shots
- Generate entire scenes and multiple camera angles automatically
- Animate each scene based on your story, without guesswork
- Skip manual prompts and wasted time
- Deliver finished, production-ready projects on repeat
Your Workflow Blueprint
The foundation of every successful AI project is character consistency.
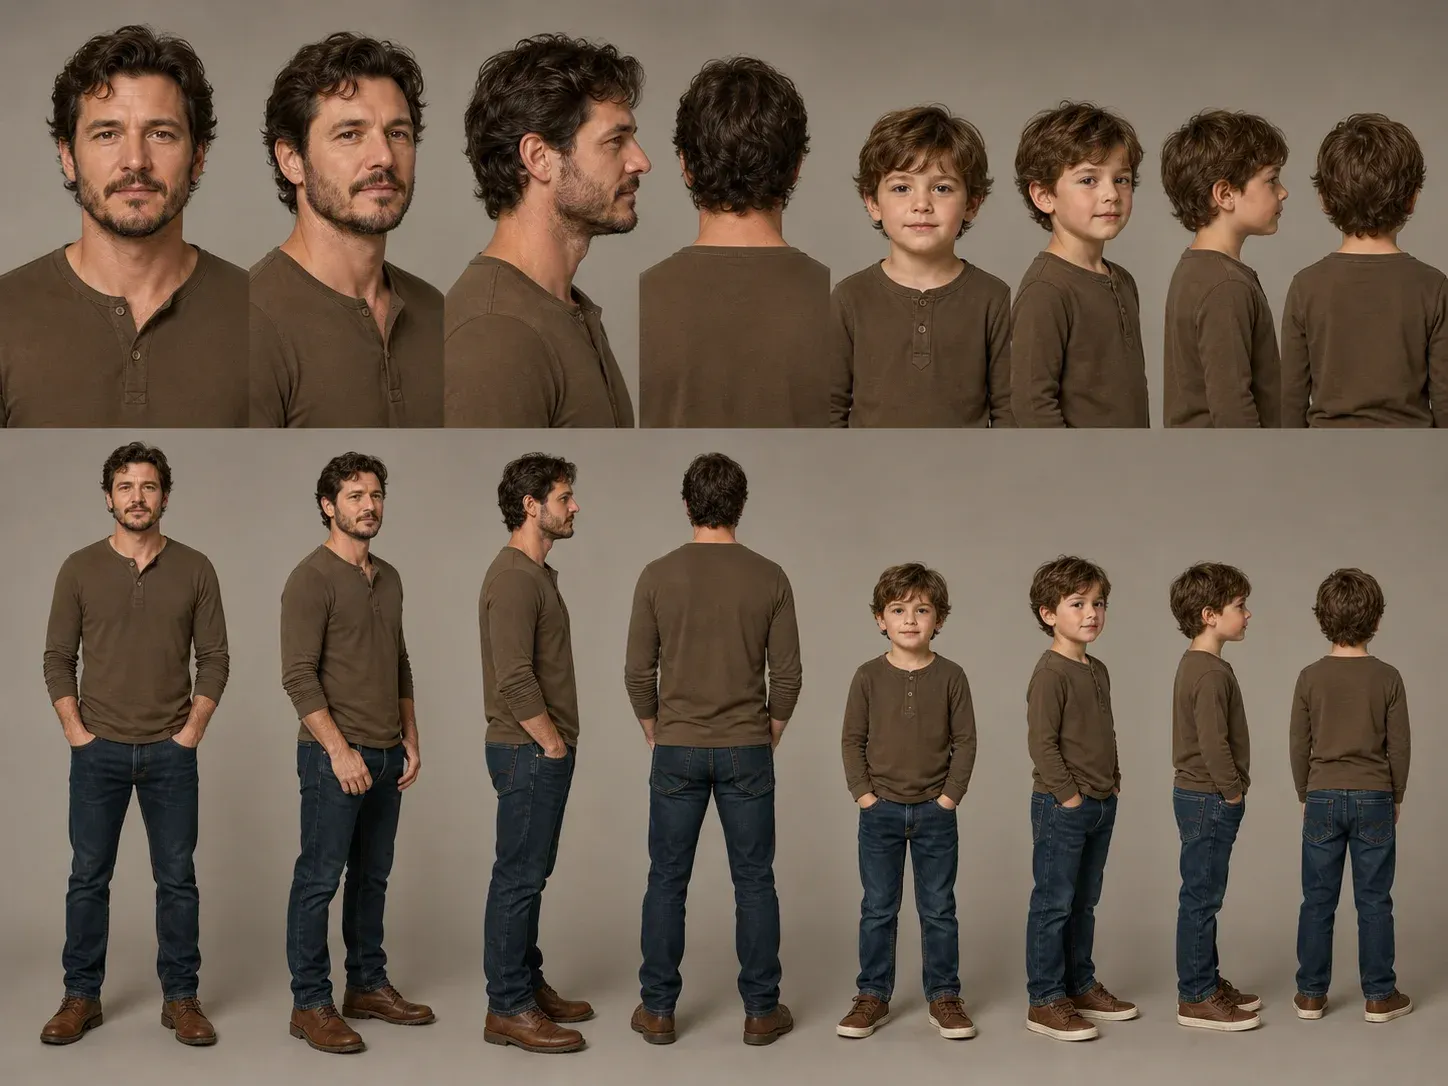
Here, we’re designing two central figures — a father and his son — fully defined for all scenes.
CHARACTER | Gender, age, ethnicity, facial features, body type, personality vibe |
|---|---|
LOOK & STYLE | Clothing, accessories, colors, textures, overall aesthetic |
COMPOSITION | Poses, camera angles, framing, expression, gestures |
ENVIRONMENT | Background, lighting, mood, location, props, atmosphere |
Take your time here — this step dictates the quality and coherence of everything that follows.
Many creators type a quick prompt and hope for cinematic results. The difference between mediocre and professional outputs is direction and structure.
Step 1 — Create Characters with Precision
Everything starts with a single structured prompt.
Instead of generating random images, we define the character in detail — so the system understands exactly who we’re creating.
1. Prompt + Generation (Full Setup)
In one prompt, I describe the character:
- close-up of the face (for identity and facial features)
- full-body shot (for proportions and posture)
- clothing, textures, and style
- age, ethnicity, and physical traits
- overall personality and visual vibe
3. Final Result (Locked Character)
This is the output.
A character that is:
- visually clear
- well-defined
- consistent across angles and scenes
This is how we lock in consistency from the very beginning.
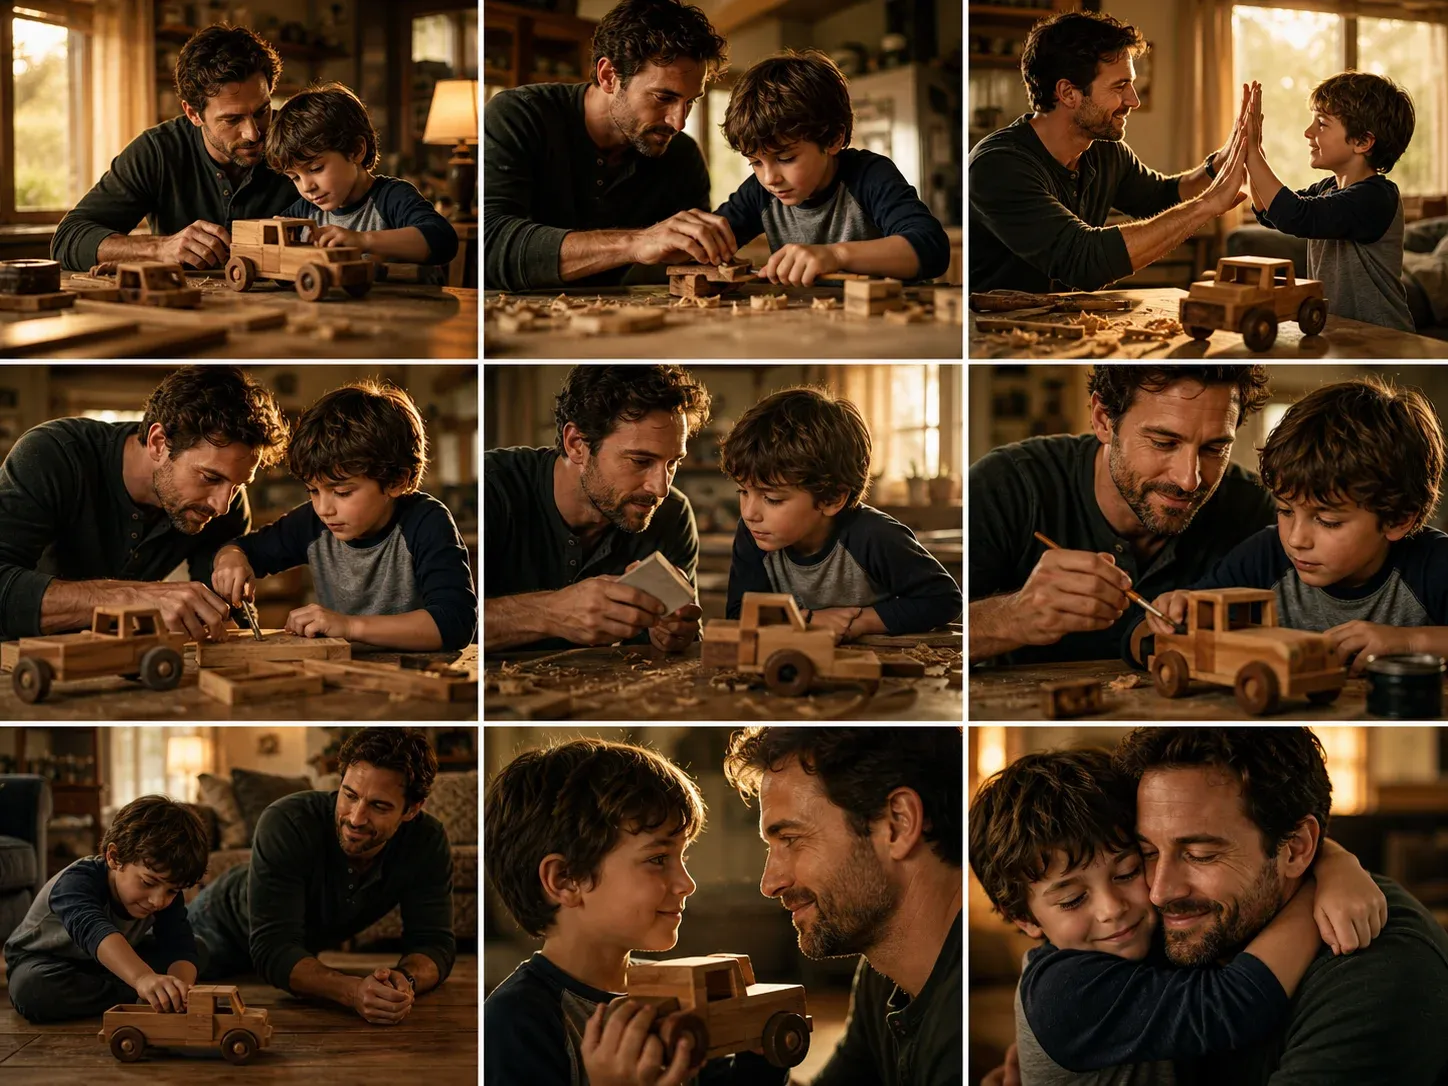
Step 2 Generating a 3×3 Scene Grid
Once the characters are ready, we move to scene generation.
Using a system prompt, I input the story or scenario, describing in detail:
- what is happening in the scene
- the environment and mood
- character actions and interactions
Step 3 Generating Multiple Angles, Scenes & Actions
Now we activate the prompt system layer.
💡
Instead of manually creating each shot, the system generates structured variations automatically.
The system prompt acts like a creative director inside the workflow.
Based on the scene we define, the system produces:
- 9 different camera angles
- multiple scene compositions
- different actions and interactions
- variations in framing and movement
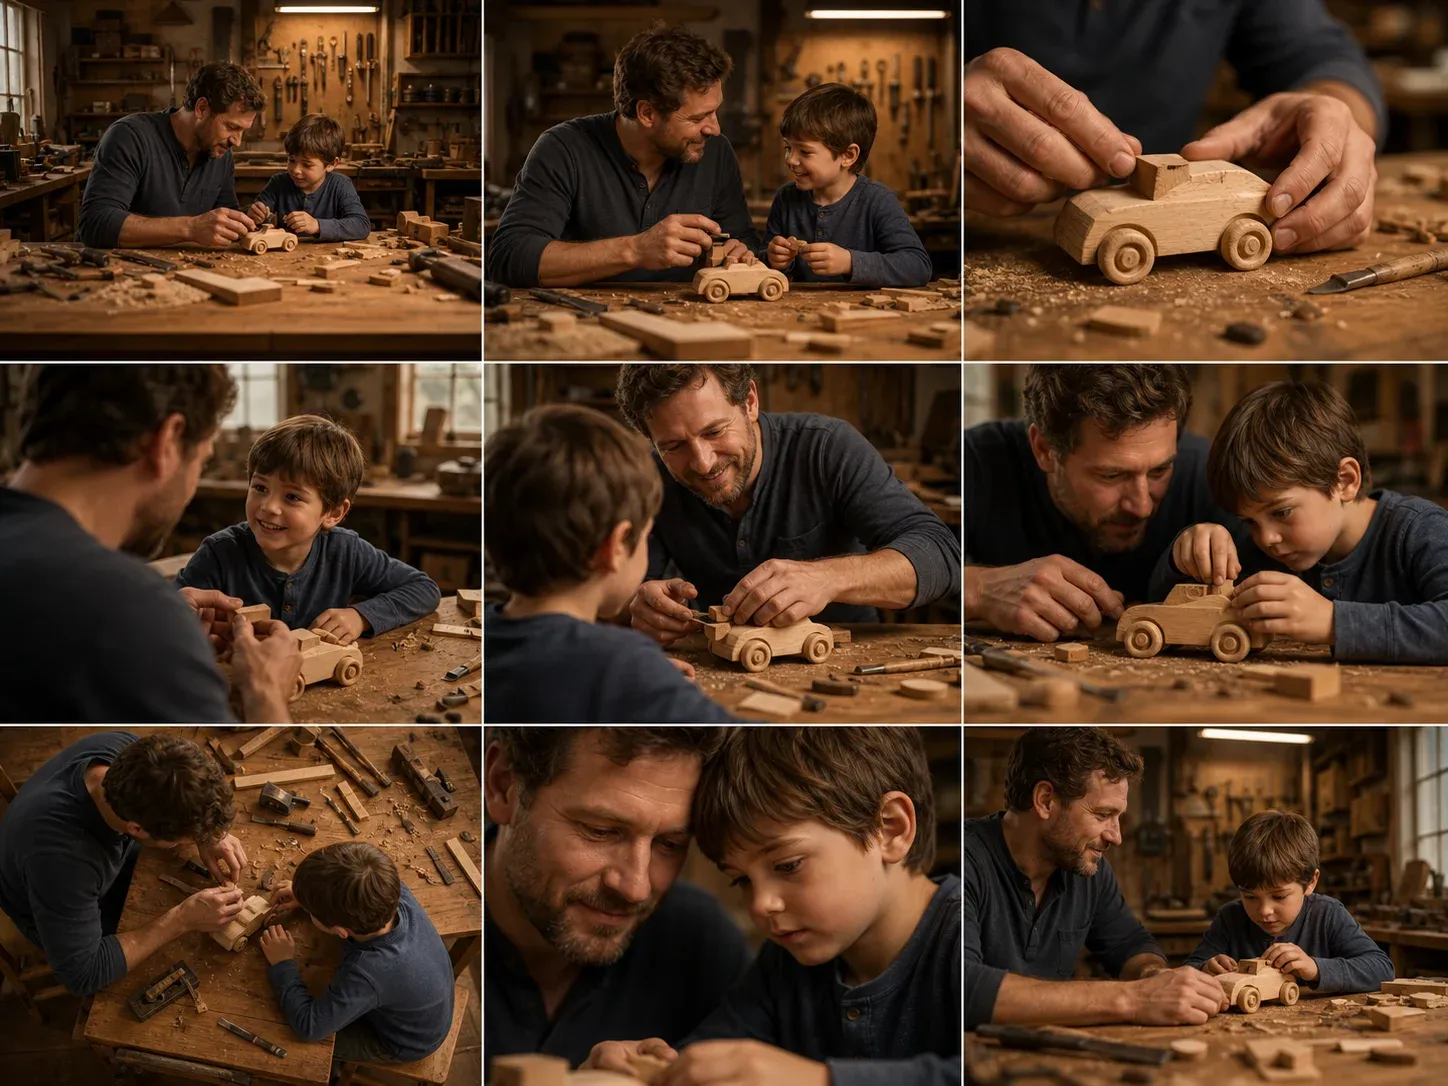
This gives us a full scene exploration grid — all consistent, all connected to the same characters and environment.
Step 4 One-Click Generation
At this stage, the workflow becomes fully automated.
First, we connect our 3×3 grid to a router (distribution node), which splits the grid into individual outputs.
From there, each connection goes into a separate node — and each node is responsible for extracting a specific frame from the grid.
The structure mirrors the grid itself — every node corresponds to its exact position.
Once everything is connected:
Simply select the nodes and click “Run Selected.”
This gives you full flexibility:
- select all nodes → extract all frames at once
- select only specific nodes → extract only the frames you want
No need to regenerate or manually isolate images — the system handles it instantly.
The result is a seamless execution of the entire pipeline:
- characters
- scenes
- variations
💡
No manual prompting. You are running a complete workflow, not individual tasks.
Step 5 Animating the Scenes
After extracting the highest-quality frames, we move into video generation and animation.
Each selected shot is connected to a video animation node (e.g. Kling), where it becomes the foundation for a fully animated scene.
From there, every shot is animated based on the original scenario and story context.
Using structured prompts, we define:
- character movement and actions
- emotions and expressions
- camera motion and flow
- scene progression and dynamics
- dialogue and interaction between characters
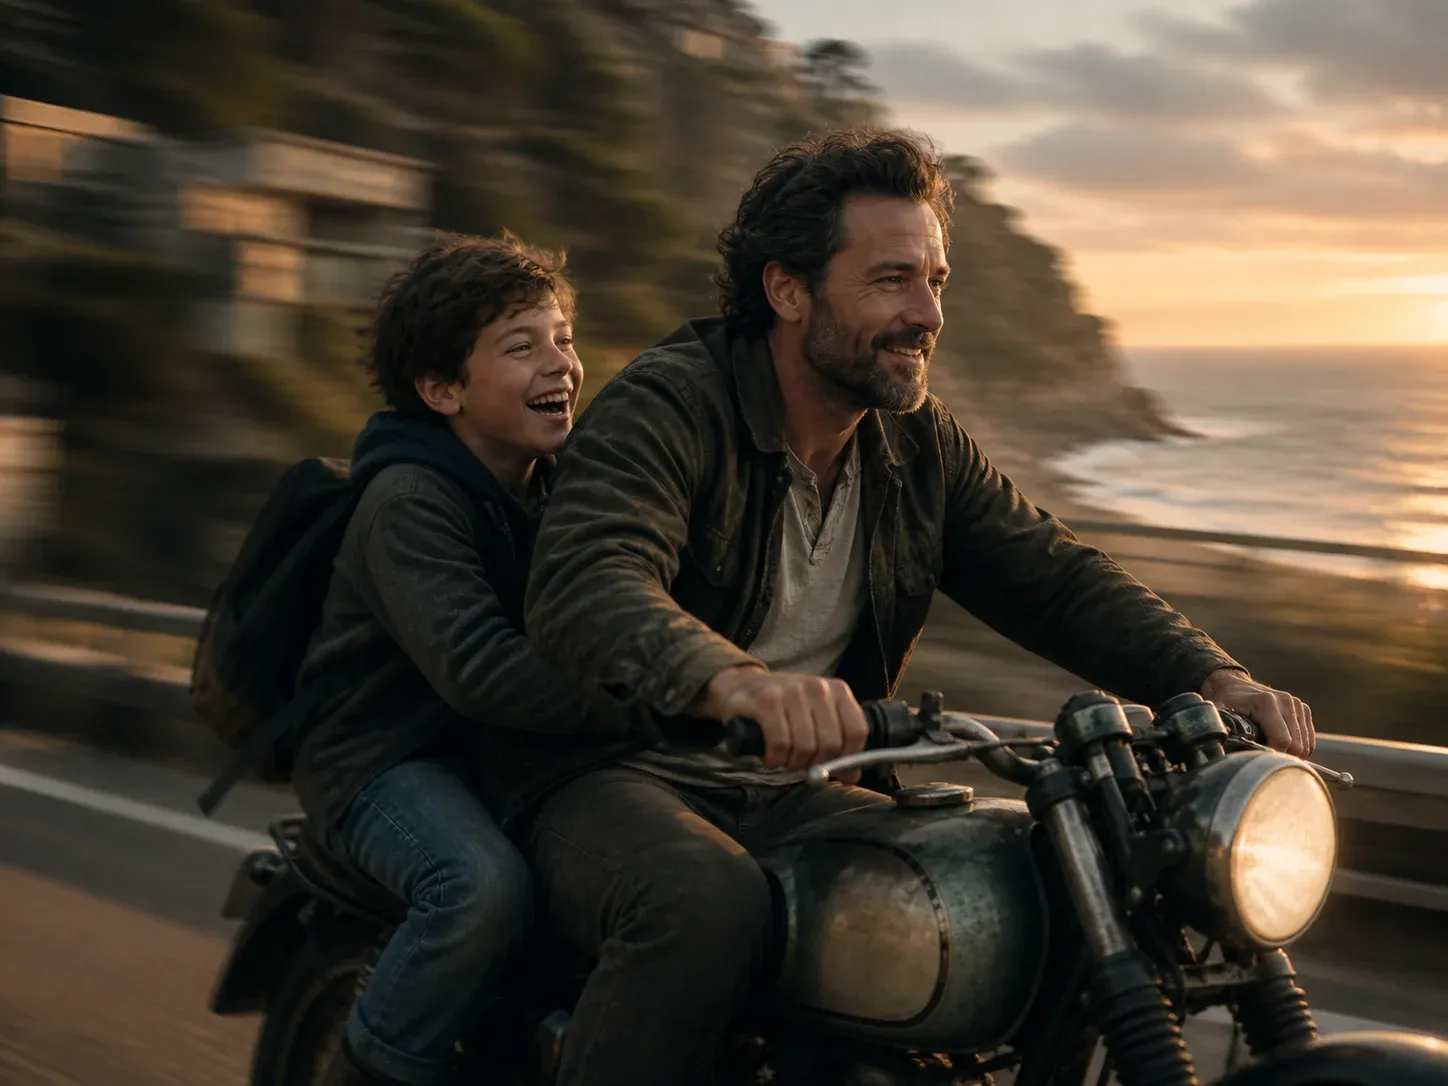
Step 6 — Final Editing & Polish
After all scenes are animated and voiceovers are ready, we move into final editing.
The workflow includes:
- Selecting the best shots and cutting them together to form the story
- Layering sound effects, music, and voiceovers
- Applying color grading for cinematic consistency
- Adding logos, subtitles, or overlays if needed
- Exporting the final project ready for delivery
Every element — visuals, sound, and branding — is combined into a polished, professional final product.
One workflow, countless possibilities.
You just saw the system in action. And this is only a single workflow example.
💡
Once you understand the system, you can adapt it to any project — fashion, luxury, cars, jewelry, or commercials. Templates alone aren’t enough; it’s the method that lets you deliver consistent results.
The core system stays the same —but the workflows evolve depending on the type of project you want to create.
You’ve seen how the system works.
You understand the logic. You see the results. But here’s the reality:
👉 Understanding it is not the same as building it.
Most people stop here.
They read, get inspired… and go back to guessing prompts.
Why most creators still can’t make this work
Because they’re missing:
- The full workflows
- The exact systems behind it
- The structure that makes it repeatable
Without that, you’re stuck in:
❌ random outputs
❌ inconsistency
❌ wasted time
Because knowing the steps is not the same as having a working system.
This is where 🔥RedFlame AI Workflow Academy comes in
💡
Inside the academy, I show you how to actually build and use these systems in real projects. Real workflows. Real pipelines.
Inside my community, you don’t just learn — you get access to:
🔥 Complete workflows (not simplified versions)
🔥 Step-by-step systems you can actually use
🔥 Weekly new workflows & breakdowns
🔥 Real commercial projects (ads, campaigns, client work)
🔥 Live weekly calls (Q&A, feedback, deep dives)
🔥 Creators to collaborate with
Your Options
- Keep experimenting with random prompts hoping for results
- Or learn to create structured workflows that deliver consistent, professional outputs ready for real campaigns
This is the difference between playing with AI and working with AI.
👇 Join RedFlame AI Workflow Academy
‣
💡
The Math
One full brand campaign: €2,000 – €10,000
RedFlame AI Academy subscription: €49/month is locked in for you once you join
As the community grows and more systems get added, the price will increase over time.
You don’t need 50 projects.You need 1 system that works.
##