
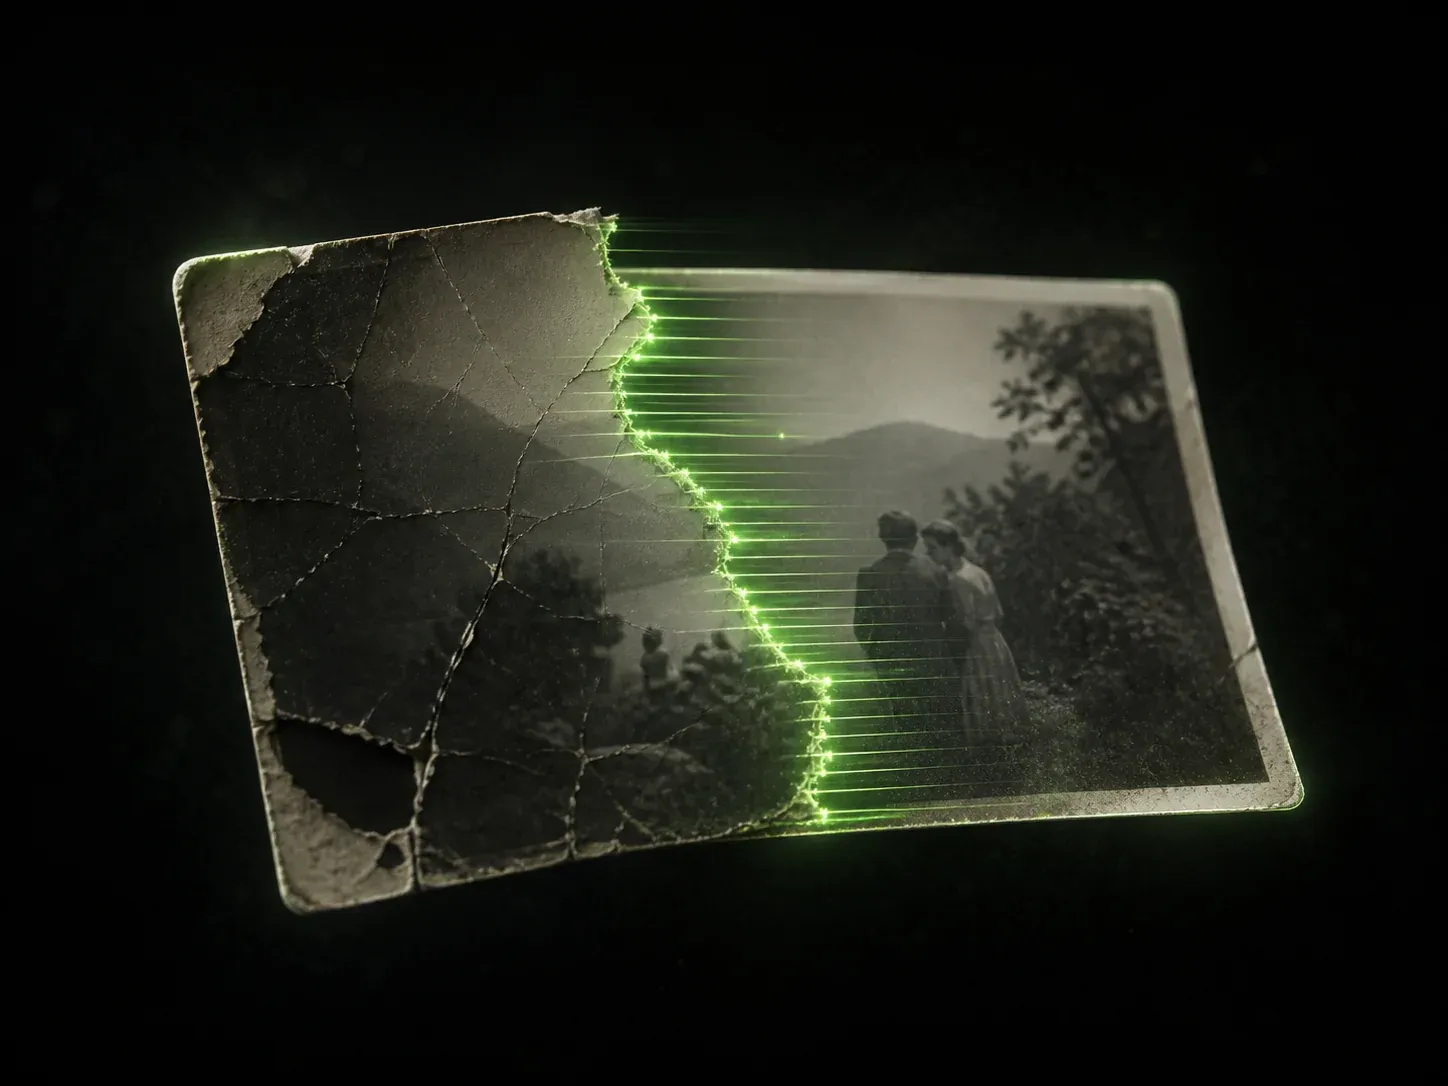
Tutorial: Restoring Old & Family Photographs (GPT Image 2 · Nano Banana 2 · Nano Banana Pro)
٨/٨/٢٠٢٦
A conservator's workflow for bringing family photographs back — without inventing the people in them.
Updated: July 2026 · Models: GPT Image 2 · Nano Banana 2 · Nano Banana Pro
The one rule
Restoration is not generation. These models do not recover lost data — they predict what should have been there. For a faded sky, that is fine. For your grandfather's jaw, it is a quiet forgery. Every technique on this page exists to keep the model on the right side of that line.
Almost every "AI photo restoration prompt" guide online is written backwards: long, maximalist prompts stuffed with camera names and adjectives like vibrant, stunning, professional. In 2026 that is measurably the wrong approach. The peer-reviewed evaluation of Nano Banana 2 on restoration tasks found that concise prompts with explicit fidelity constraints produce the best trade-off between accuracy and perceptual quality — and that the model's biggest failure mode is semantic alteration: silently changing what the photo actually shows.
So the architecture of every prompt below is:
small job + hard constraints + permission to leave things unresolved.
1 · Choose your model (July 2026)
Model | What it actually is | Use it for | Notes |
|---|---|---|---|
Nano Banana 2 | Gemini 3.1 Flash Image — the default in the Gemini app (Fast / Thinking / Pro) | Your default restorer. 90% of family photos. | 512px → 4K. Excellent conversational multi-turn edits. Free tier. Holds subject consistency across a scene. |
Nano Banana Pro | Gemini 3 Pro Image — reasoning + web-grounded world knowledge, up to 14 reference images | The hardest cases: severe damage, big group photos, historically accurate colourisation | On AI Pro/Ultra, reachable via the three-dot menu → Redo with Pro. Slower, more faithful, thinks before it draws. |
Nano Banana 2 Lite | Gemini 3.1 Flash Lite Image | Batch work — digitising a whole album via API | Speed/cost play. Not for hero images. |
GPT Image 2 | OpenAI, released 21 Apr 2026. Reasoning built in, up to 16 reference images, 1K/2K/4K | Photos containing text — signs, medals, documents, Arabic/Latin script — and multi-constraint instructions | Best instruction-follower in the family. Also the most creative, so it needs the Fidelity Lock hardest. |
Rule of thumb: Nano Banana 2 restores. Nano Banana Pro reasons. GPT Image 2 obeys. Run the same photo through two of them and compare — disagreement between models is your best hallucination detector.
2 · The input decides the output
Most "AI ruined my photo" stories are actually bad-scan stories. Ten minutes here saves an hour of prompting.
- Flatbed: 600 dpi minimum for a 10×15 cm print; 1200 dpi for small or wallet-sized prints; 2400 dpi+ for negatives and slides.
- Save as TIFF or max-quality PNG. Never restore from a re-saved JPEG — you are handing the model compression artefacts to interpret as detail.
- Turn the scanner's own AI off. Descreen, dust removal, "colour restore", auto-sharpen — all of it. Those tools destroy evidence before the model ever sees it. Scan flat and dull; that is correct.
- Phone capture: diffuse window light at 45°, no flash, print flat, camera parallel, shoot the highest-quality format available. Keep the white border in frame — it tells the model the print's true white point.
- Framed/glassed: take the glass off. If you can't, shoot at a slight angle and de-skew, or use a polariser.
- Scan the back too. Handwriting, dates, studio stamps, lab codes. Feed it to the model as a second image — it grounds the era, and era grounds the colour.
3 · The prompt architecture
Every good restoration prompt has five parts. Skip any of them and the model starts improvising.
- ROLE — archival conservator, not artist. One word changes the model's entire prior.
- SCOPE — one job per pass. "Fix everything" is how faces get replaced.
- FIDELITY LOCK — the explicit list of what must not change.
- RECONSTRUCTION RULE — how to behave where information is missing.
- PERMISSION TO FAIL — leave it soft rather than invent it. This single clause is the difference between a restoration and a deepfake of your relative.
4 · The Prompt Library
🔒 P0 — The Fidelity Lock
This is a module, not a prompt. Paste it at the end of every other prompt on this page. It is the most important text in this tutorial.
FIDELITY LOCK — restoration only, no reinterpretation.
Preserve exactly: facial geometry and proportions, expression, gaze direction,
apparent age, hairline, teeth, ears, hands, jewellery, glasses, clothing,
pose, spacing between people, background layout, and the original crop,
framing and aspect ratio.
Do not beautify, slim, smooth, de-age, straighten teeth, open closed eyes,
symmetrise a face, or add anything not present in the original.
Where information is missing, reconstruct conservatively by extending the
surrounding pixels — never by inventing a new feature.
Where the original is genuinely unreadable, LEAVE IT SOFT. A soft area is
an honest area. Do not guess.
Output the same photograph, cleaned. Not a new photograph.
🔍 P1 — Triage (run this first, always)
No other guide does this step, and it is the one that saves the photo. You are not asking for an edit — you are asking for a conservator's report. Use Nano Banana Pro or GPT Image 2 (Thinking).
You are an archival photograph conservator. DO NOT EDIT THIS IMAGE.
Inspect it at maximum zoom and give me a written report:

1. PRINT & ERA — print type, process, and approximate decade. Cite your
   evidence: border style, format, dye or silver behaviour, clothing,
   hairstyles, objects, any visible text.
2. DAMAGE INVENTORY, grouped:
   PHYSICAL — tears, creases, fold lines, missing areas, scratches,
   emulsion cracks, tape, staples.
   CHEMICAL — fading, yellowing, magenta or cyan shift, sepia bloom,
   silver mirroring, foxing.
   OPTICAL — motion blur, missed focus, grain, low resolution.
   CAPTURE — scan glare, moiré, dust, newton rings.
3. FACES — for each face: approximate pixel width, how much true identity
   information actually survives, and the hallucination risk if restored
   aggressively. Explicitly flag any face that should be LEFT ALONE.
4. ORDER OF WORK — what to restore, in what order, and what must not be
   touched at all.

Be blunt. Tell me what is unrecoverable. Do not reassure me.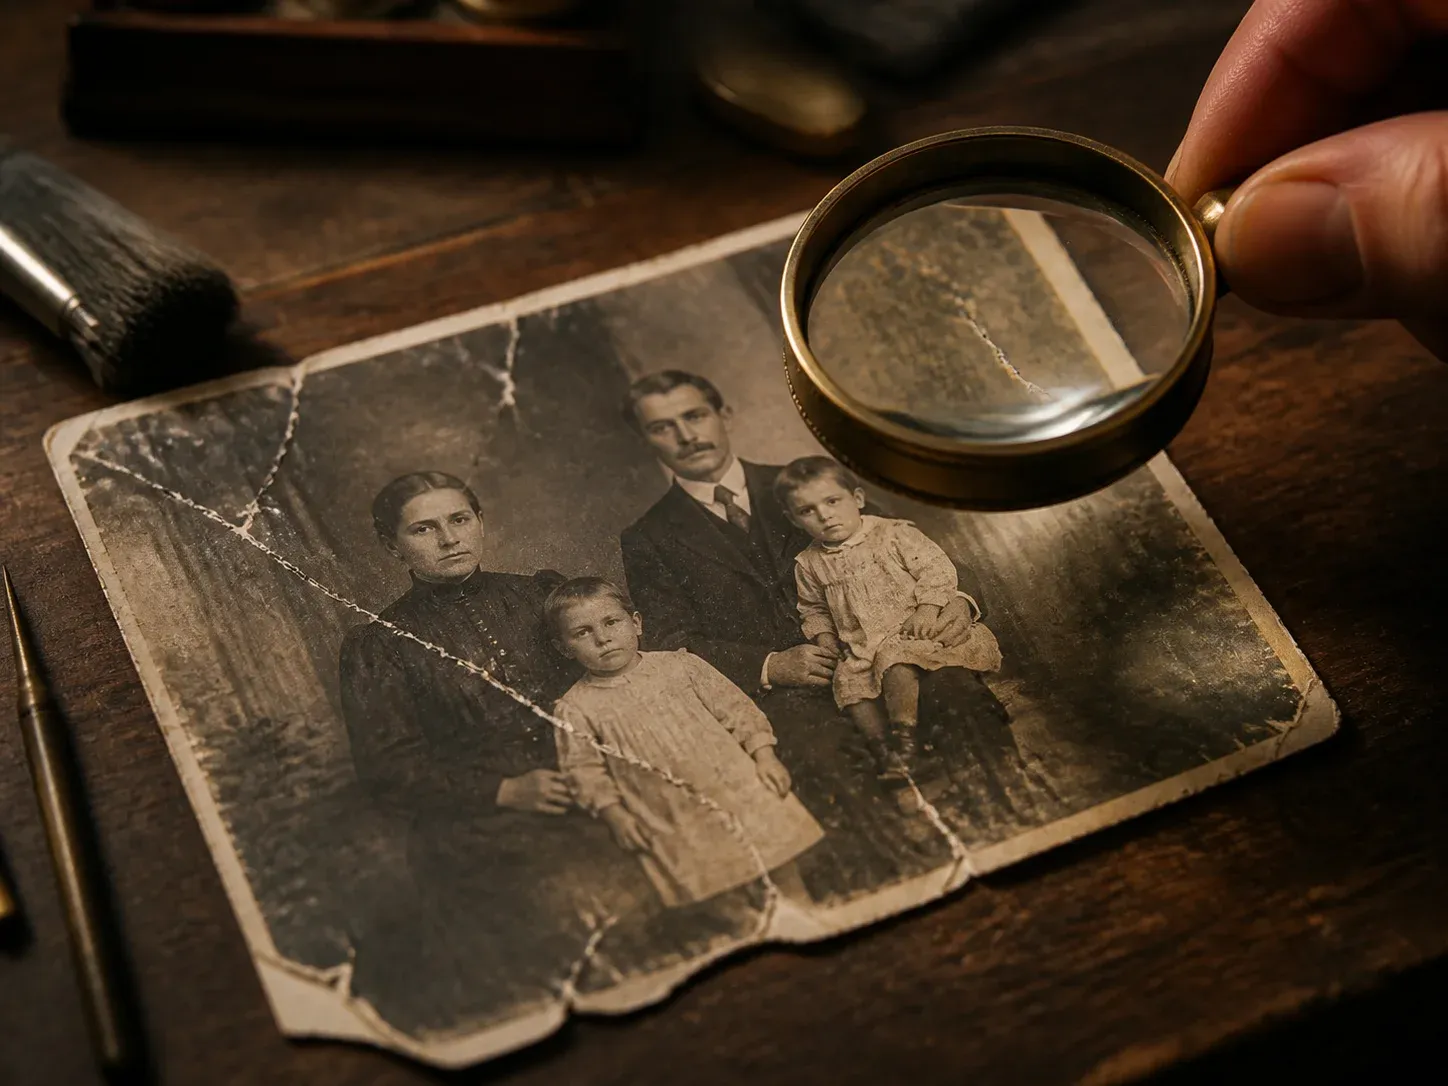
🩹 P2 — Structural repair (physical damage only)
Act as a photograph conservator. Repair PHYSICAL damage only.

Remove: tears, creases, fold lines, surface scratches, emulsion cracks,
dust, tape residue, staple holes, torn and frayed edges.
Rebuild missing or destroyed areas by continuing the surrounding texture,
pattern, fabric weave and lighting that already exist. Do not invent new
objects, new background elements, or any part of a face.

In this pass, do NOT change: tone, colour, contrast, sharpness, grain,
resolution, or crop. Nothing but the damage.

[PASTE FIDELITY LOCK]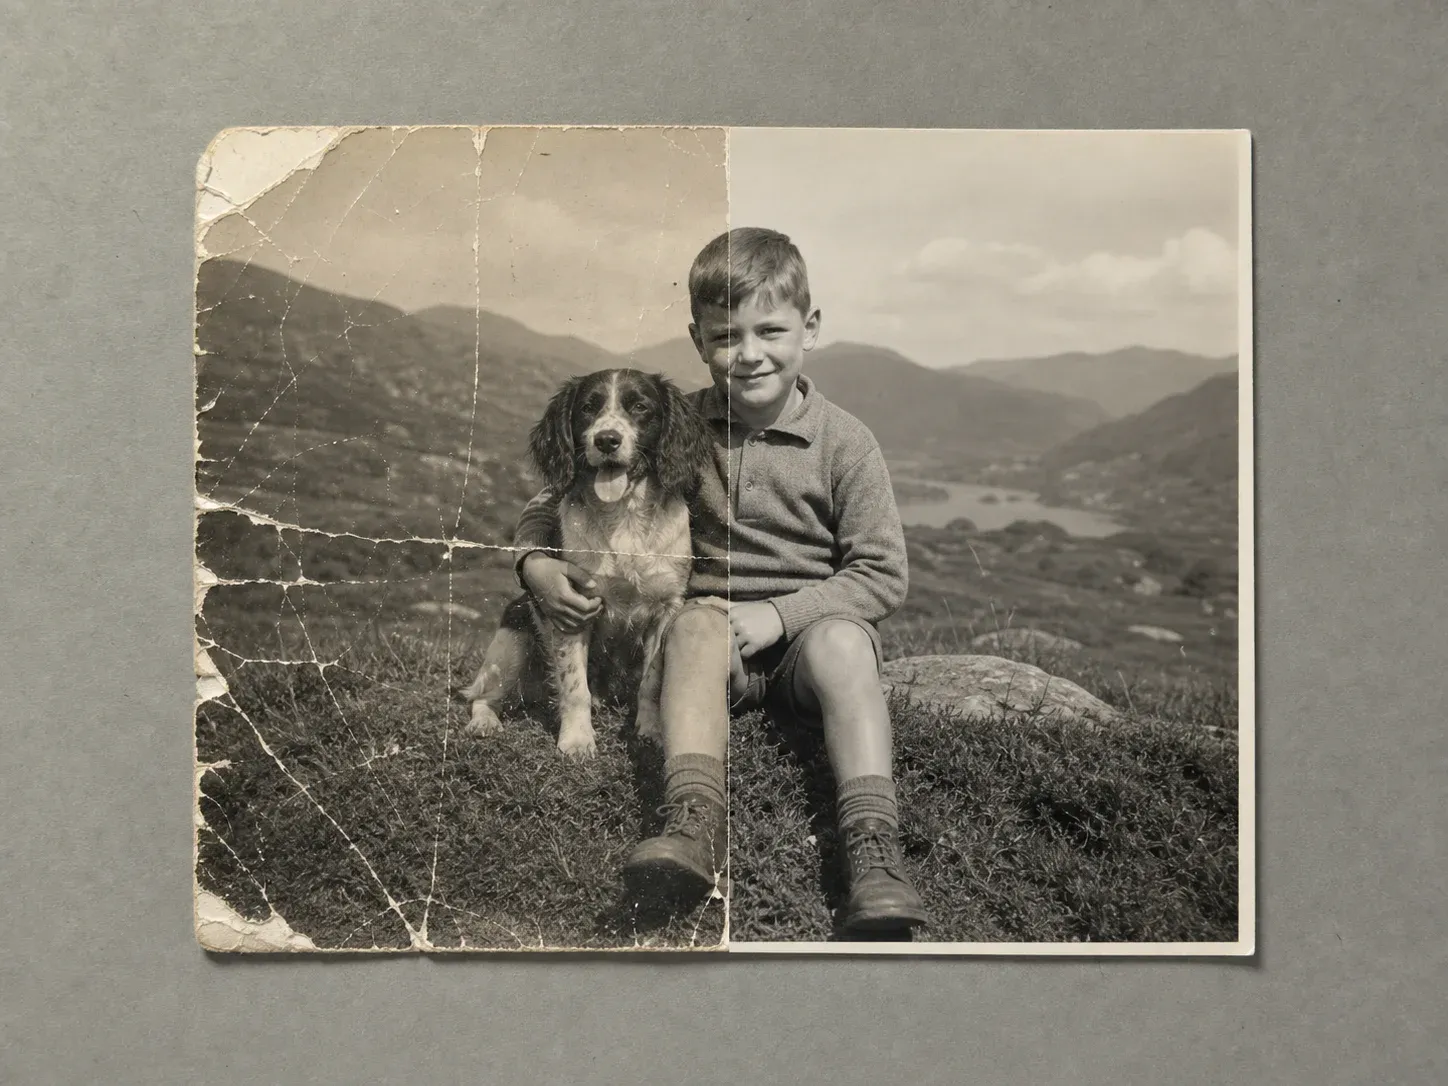
🧪 P3 — Chemical & tonal recovery (fading, cast, yellowing)
Correct chemical ageing only.

Neutralise the colour cast — yellowing, the magenta shift typical of 1970s
and 80s colour prints, sepia bloom, silver mirroring.
Rebuild the tonal range: recover shadow detail without lifting blacks to
grey; pull back blown highlights only where information survives.
Restore density so that whites read as white and skin reads as skin under
the light that was actually in that room.

Target: a WELL-PRESERVED PRINT OF ITS ERA — not a modern digital photo.
Do not add saturation the print never had. Do not add contrast for drama.
Preserve the film grain structure completely.

[PASTE FIDELITY LOCK]
👁️ P4 — Detail & face recovery (the dangerous pass)
This is where photographs get quietly replaced by strangers. Note how much of this prompt is prohibition.
Recover detail conservatively. Faces last.

Reduce noise and grain ONLY where it destroys information — keep the
photographic texture everywhere else.
Sharpen using structure that already exists in the pixels. Do not
synthesise new structure.

ON FACES — recover only what is genuinely present: eye position, eyelid
shape, nostril and lip line, hairline, ear shape. If a feature is below
the resolution required to be recovered truthfully, LEAVE IT SOFT.
Never regenerate a face from scratch.
Skin must keep pores, lines, blemishes, scars and natural asymmetry.
No skin smoothing. No eye enlargement or brightening. No teeth whitening.
No beautification of any kind. An honest imperfect face beats a beautiful
wrong one.

[PASTE FIDELITY LOCK]
🧬 P5 — The Identity Anchor (two-image method)
The single most powerful technique on this page. When a face is damaged or too small to read, don't let the model guess — give it evidence. Upload the damaged photo plus one or more clearer photographs of the same person, from any age. GPT Image 2 accepts up to 16 reference images; Nano Banana Pro up to 14.
IMAGE 1 = the damaged photograph to restore.
IMAGE 2 (and 3) = clearer photographs of the SAME PERSON at a different
age. These are IDENTITY REFERENCE ONLY.

Restore IMAGE 1.

Keep everything from IMAGE 1: pose, expression, gaze, age, clothing, hair,
lighting, background, era and crop.
Use IMAGE 2 ONLY to resolve underlying facial STRUCTURE where IMAGE 1 is
too damaged to read — bone structure, eye shape, nose, jaw, ear geometry.
Do NOT import IMAGE 2's age, expression, hairstyle, lighting, skin quality
or clothing into IMAGE 1.
If IMAGE 1 and IMAGE 2 disagree about anything, IMAGE 1 WINS.

[PASTE FIDELITY LOCK]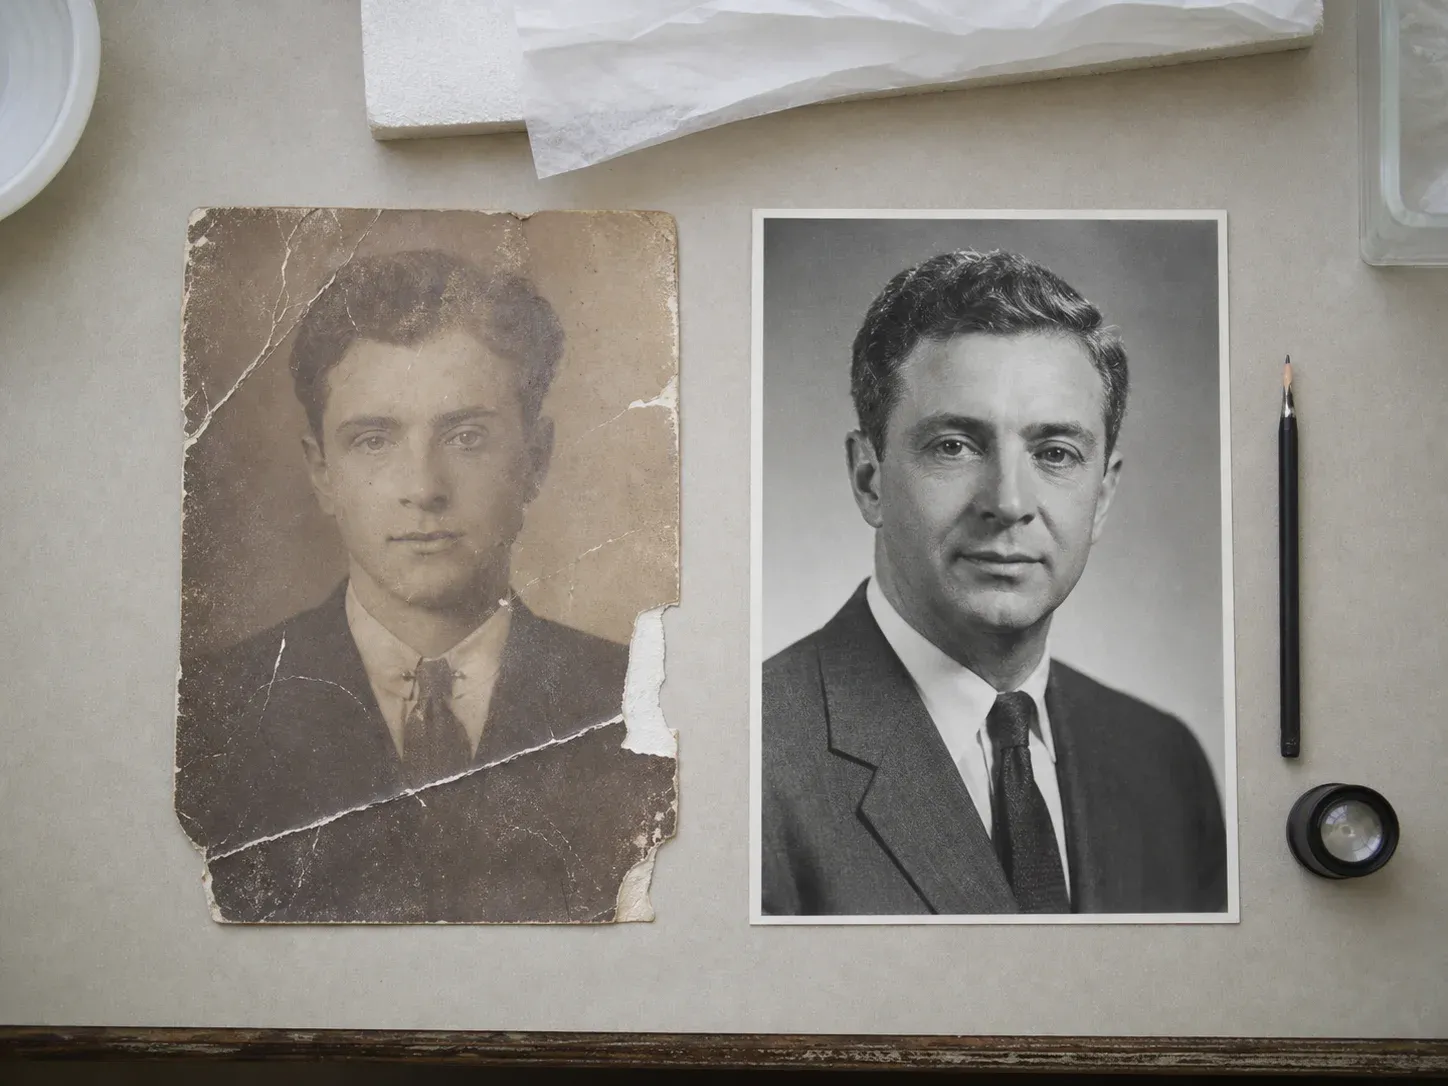
🎨 P6 — Historically grounded colourisation
The old approach asked for "period-appropriate colours" and hoped. Nano Banana Pro and GPT Image 2 can now reason and search — so make them justify the colour instead of vibing it.
Colourise this monochrome photograph as a PERIOD-ACCURATE COLOUR
PHOTOGRAPH, not a painting.

First, reason from the evidence: approximate decade and region, the film
stock's tonal response, uniforms, insignia, fabrics and available dyes,
paint, vehicles, signage, vegetation and season.
Where something is identifiable — a uniform, flag, badge, team kit,
product package, car model, building — use its DOCUMENTED colour, and
state in text which reference you relied on.
Where the true colour is unknowable, choose the most statistically likely
MUTED option. Never a saturated guess.

Hard constraints:
- Keep the original luminance map exactly. Shadows, highlights and contrast
  must not shift when colour is added.
- Skin: natural undertones with subtle variation between people and between
  lit and shadowed areas. No uniform tan. No plastic glow.
- Grain and print texture survive the colourisation.

[PASTE FIDELITY LOCK]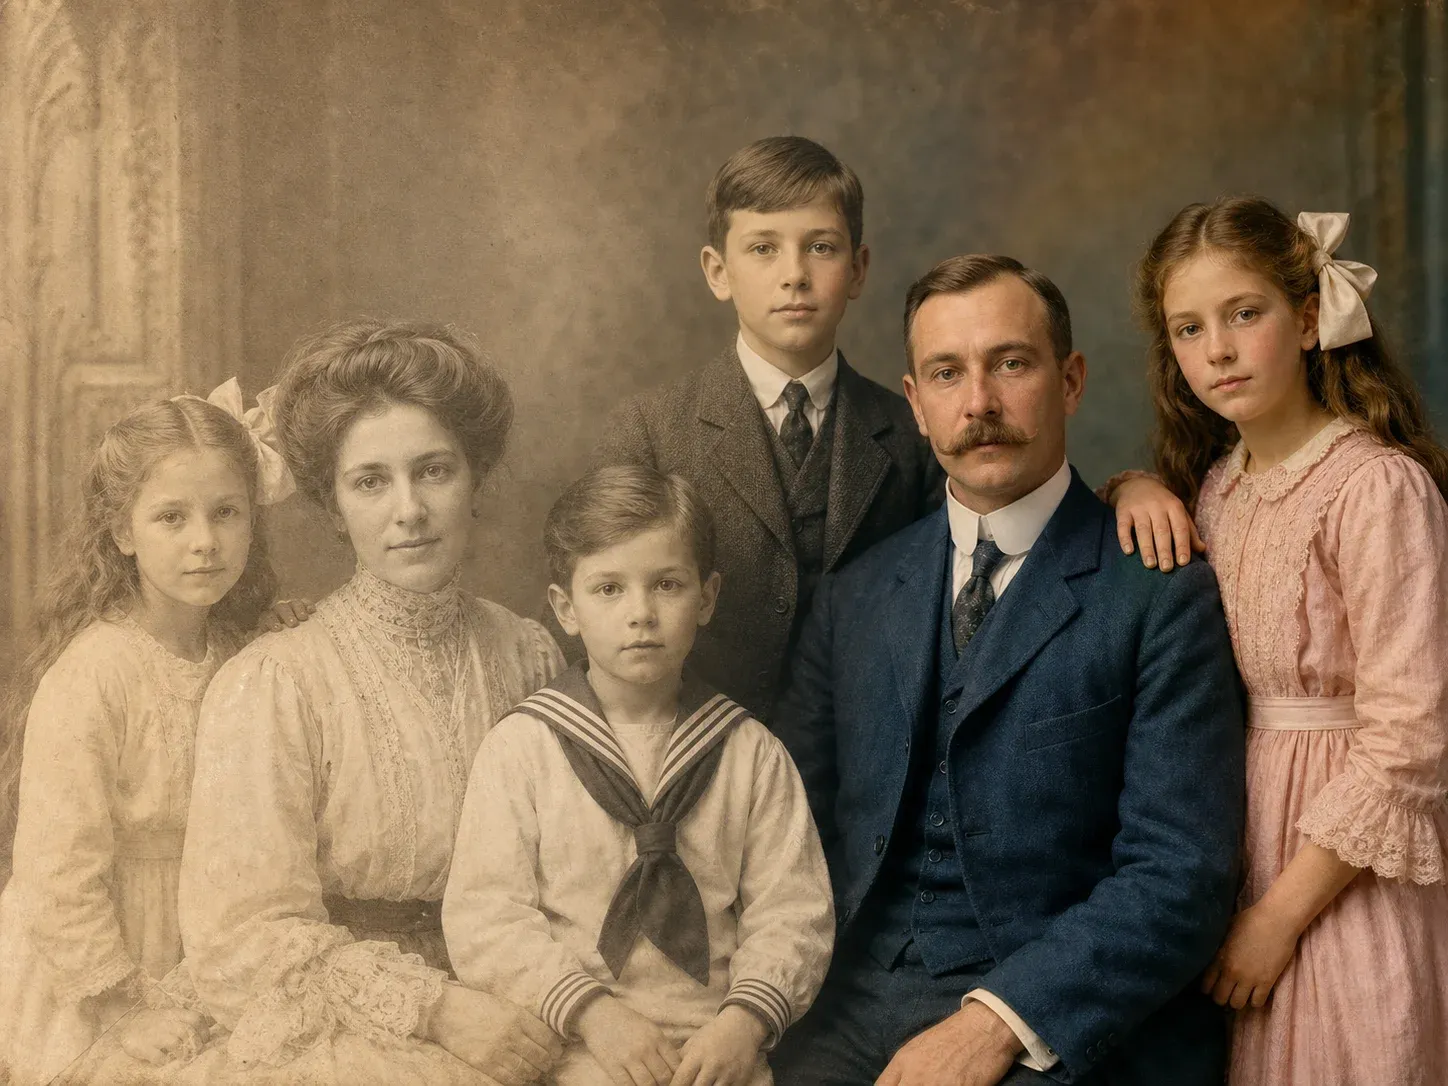
⚠️ Colourised is not a historical fact. It is an informed reconstruction. Label it as such when you hand it to family or an archive.
👨👩👧👦 P7 — The group-photo pass
Crowds are where models silently merge, drop, or clone people.
This is a GROUP photograph. Work face by face, largest to smallest.

For every face, recover only detail genuinely present in the pixels.
Any face smaller than roughly 40 pixels across: clean the damage and
noise, but LEAVE IT SOFT. Do not reconstruct it.
Do not copy one person's features onto another.
Do not merge, drop, add, duplicate or move any person.
Preserve every person's exact position, posture, spacing, overlap and
edges — including hands and where they touch.
Restore background, clothing and floor only after the faces are settled.

[PASTE FIDELITY LOCK]
🖨️ P8 — Finishing & print upscale
Final pass. Do not change content.

Upscale to 4K on the long edge, preserving the original aspect ratio and
the FULL frame — including the original print border if one is present.
Reconstruct detail only where it is consistent with what is already
visible. No new features. No synthetic texture.
Keep a fine, natural grain. A slightly grainy honest print beats a plastic
clean one.
Apply a neutral archival grade: correct whites, no colour cast, no vignette,
no film emulation, no stylisation, no "cinematic" look.

Deliver a print-ready image.
♻️ The one-shot prompt (when you have 30 seconds)
If you only paste one thing — paste this. It is deliberately short. Short + constrained beats long + poetic.
Act as an archival photograph conservator and restore this photograph.

Remove physical damage (tears, creases, scratches, stains, dust), correct
chemical ageing (fading, yellowing, colour cast), rebuild the tonal range,
and recover detail that is genuinely present in the pixels.

FIDELITY LOCK — restoration only, no reinterpretation.
Preserve exactly: facial geometry, expression, gaze, apparent age, teeth,
hair, hands, jewellery, clothing, pose, background layout, crop and aspect
ratio.
Do not beautify, smooth, de-age, or symmetrise anything.
Where information is missing, extend the surrounding pixels — never invent
a feature. Where the original is unreadable, LEAVE IT SOFT.
Keep natural grain and skin texture.

Output at the highest resolution available. Same photograph, cleaned —
not a new photograph.
5 · The five-pass pipeline
One job per pass. This is the whole method.
- Triage (P1) — get the damage report. Decide what you will not touch.
- Structure (P2) — physical damage only.
- Chemistry & tone (P3) — cast, fading, density.
- Detail & faces (P4, + P5 if you have reference photos, + P7 if it's a group).
- Colour (P6) — optional, and always saved as a separate file.
- Finish & upscale (P8).
The generation-loss rule: never stack more than ~3 edits on an edit. Each pass compounds the model's inventions. When drift appears, go back to the original scan and restart with a better prompt. The original is your only ground truth.
6 · Multi-turn correction phrases
Nano Banana 2 holds context across a conversation. Correct it like a retoucher, in plain language:
- "Too smooth. Bring back the original skin texture and grain on the faces."
- "You changed his mouth. Restore the exact lip line from the original — the expression was closed and neutral."
- "Too saturated for a 1974 print. Reduce colour by 40% and warm the highlights slightly."
- "You removed the crease, but you also removed her necklace. Put the necklace back exactly as it is in the original."
- "Un-sharpen the background. Keep the sharpening only on the front row."
- "Her eyes are now symmetrical. They weren't. Restore the original asymmetry."
7 · The six-point identity audit
Do this before you send the image to anyone. Restored photos travel through families and become the new truth.
- Flicker test. Toggle original ↔ restored at 100% zoom. Anything that moves was invented.
- Zoom the hotspots. Eyes, teeth, ears, hands, fingers, jewellery, buttons, glasses, watch faces. This is where models hallucinate first.
- Count things. People, fingers, buttons, chair legs, background figures. Counts must match.
- Read every letter. Signs, medals, book spines, shop fronts, licence plates — models will confidently rewrite text into plausible nonsense. Verify character by character. (This is where GPT Image 2 outperforms, but still: verify.)
- Ask someone who knew them. "Does this look like him?" is the only ground truth that matters. Not the model's confidence. Not yours.
- Cross-examine the model. Crop the original face and the restored face, upload both, and ask: "Are these the same person? List every difference in facial structure." Treat it as a second opinion, not a verdict.
8 · Failure modes & fixes
Symptom | What actually happened | Fix |
|---|---|---|
Plastic, poreless skin | Model applied a beauty prior | Re-run P4; add "keep pores, lines, blemishes, asymmetry" |
The person looks like a cousin | Face regenerated below usable resolution | Restart from original. Use P5 Identity Anchor with reference photos |
Everyone looks 10 years younger | De-ageing prior | Add "preserve apparent age exactly" to the Fidelity Lock |
Perfect white teeth in a 1940s photo | Invented dentition | Explicitly: "do not alter or add teeth; if the mouth is closed, keep it closed" |
Colours look like a Pixar film | Saturation prior | Add "target a well-preserved print of its era, not a modern digital photo" |
The sign now says something else | Text hallucination | Restore text in a separate pass with GPT Image 2, or mask it and leave it |
The crop changed / border vanished | Model reframed | "Preserve original crop, aspect ratio and print border" |
Grain completely gone | Denoise ran too hard | "Keep the film grain structure" — grain is evidence, not noise |
Each edit drifts further | Generation loss | Go back to the original scan. Always. |
9 · Archive it properly
- Never overwrite the original. Ever. The scan is the artefact now.
- Filename convention:
1963_wedding_grandmother_ORIGINAL-scan.tif1963_wedding_grandmother_RESTORED_v1_nb2.png1963_wedding_grandmother_COLOUR_v2_nbpro.png
- Keep a restoration note beside the file: which model, which prompts, what you chose to reconstruct, what you chose to leave. In twenty years, that note is worth as much as the image.
- Provenance is built in. Gemini outputs carry an invisible SynthID watermark, and images are interoperable with C2PA Content Credentials. Don't strip it. It tells the future that a machine touched this.
- Label restorations as restorations when you share them. Especially colourisations.
10 · What AI still cannot do
It cannot recover what is not there. It can only make a confident guess that looks like recovery — and confidence is exactly the failure mode. For legally or historically consequential material, forensic evidence, or a one-of-one print that carries a family's only image of someone, use a human conservator and non-generative tools. Generative restoration is for memory, not for record.
The test I'd apply to any restoration before it leaves my machine:
Would the person in this photograph recognise themselves in it?
If you're not sure, you've generated. You haven't restored.
ملخص سريع | Quick guide (AR)
القاعدة الأولى: الترميم ليس توليدًا. النماذج لا تستعيد التفاصيل المفقودة، بل تتنبأ بها. مهمتك أن تمنعها من اختراع وجوه أهلك.
النماذج (يوليو ٢٠٢٦):
- Nano Banana 2 — النموذج الافتراضي في تطبيق Gemini. خيارك الأساسي لمعظم صور العائلة.
- Nano Banana Pro — للحالات الأصعب: تلف شديد، صور جماعية، تلوين دقيق تاريخيًا.
- GPT Image 2 — الأفضل حين تحتوي الصورة على نصوص (لافتات، أوسمة، وثائق، حروف عربية).
الطريقة: مهمة واحدة في كل مرحلة — تشخيص، ثم إصلاح التلف المادي، ثم تصحيح اللون والدرجات، ثم استعادة التفاصيل والوجوه، ثم التلوين (اختياري)، ثم التكبير النهائي.
قفل الأمانة (الصقه في نهاية كل أمر): حافظ تمامًا على بنية الوجه، والتعبير، واتجاه النظر، والعمر الظاهر، والأسنان، والشعر، واليدين، والحُلي، والملابس، والوضعية، وخلفية الصورة، والقص الأصلي. لا تُجمِّل، ولا تُنعِّم، ولا تُصغِّر السن. حيث تنقص المعلومة، مدِّد ما حولها ولا تخترع. وحيث يستحيل القراءة، اتركها ضبابية — المنطقة الضبابية منطقة صادقة.
الاختبار الأخير: هل كان صاحب الصورة سيتعرّف على نفسه فيها؟ إن ترددت، فأنت لم تُرمِّم — أنت ولّدت صورة جديدة.
AI Guide | دليل الذكاء الاصطناعي — Sameh Al Tawil © 2026